Thumbnail Creation
Overview
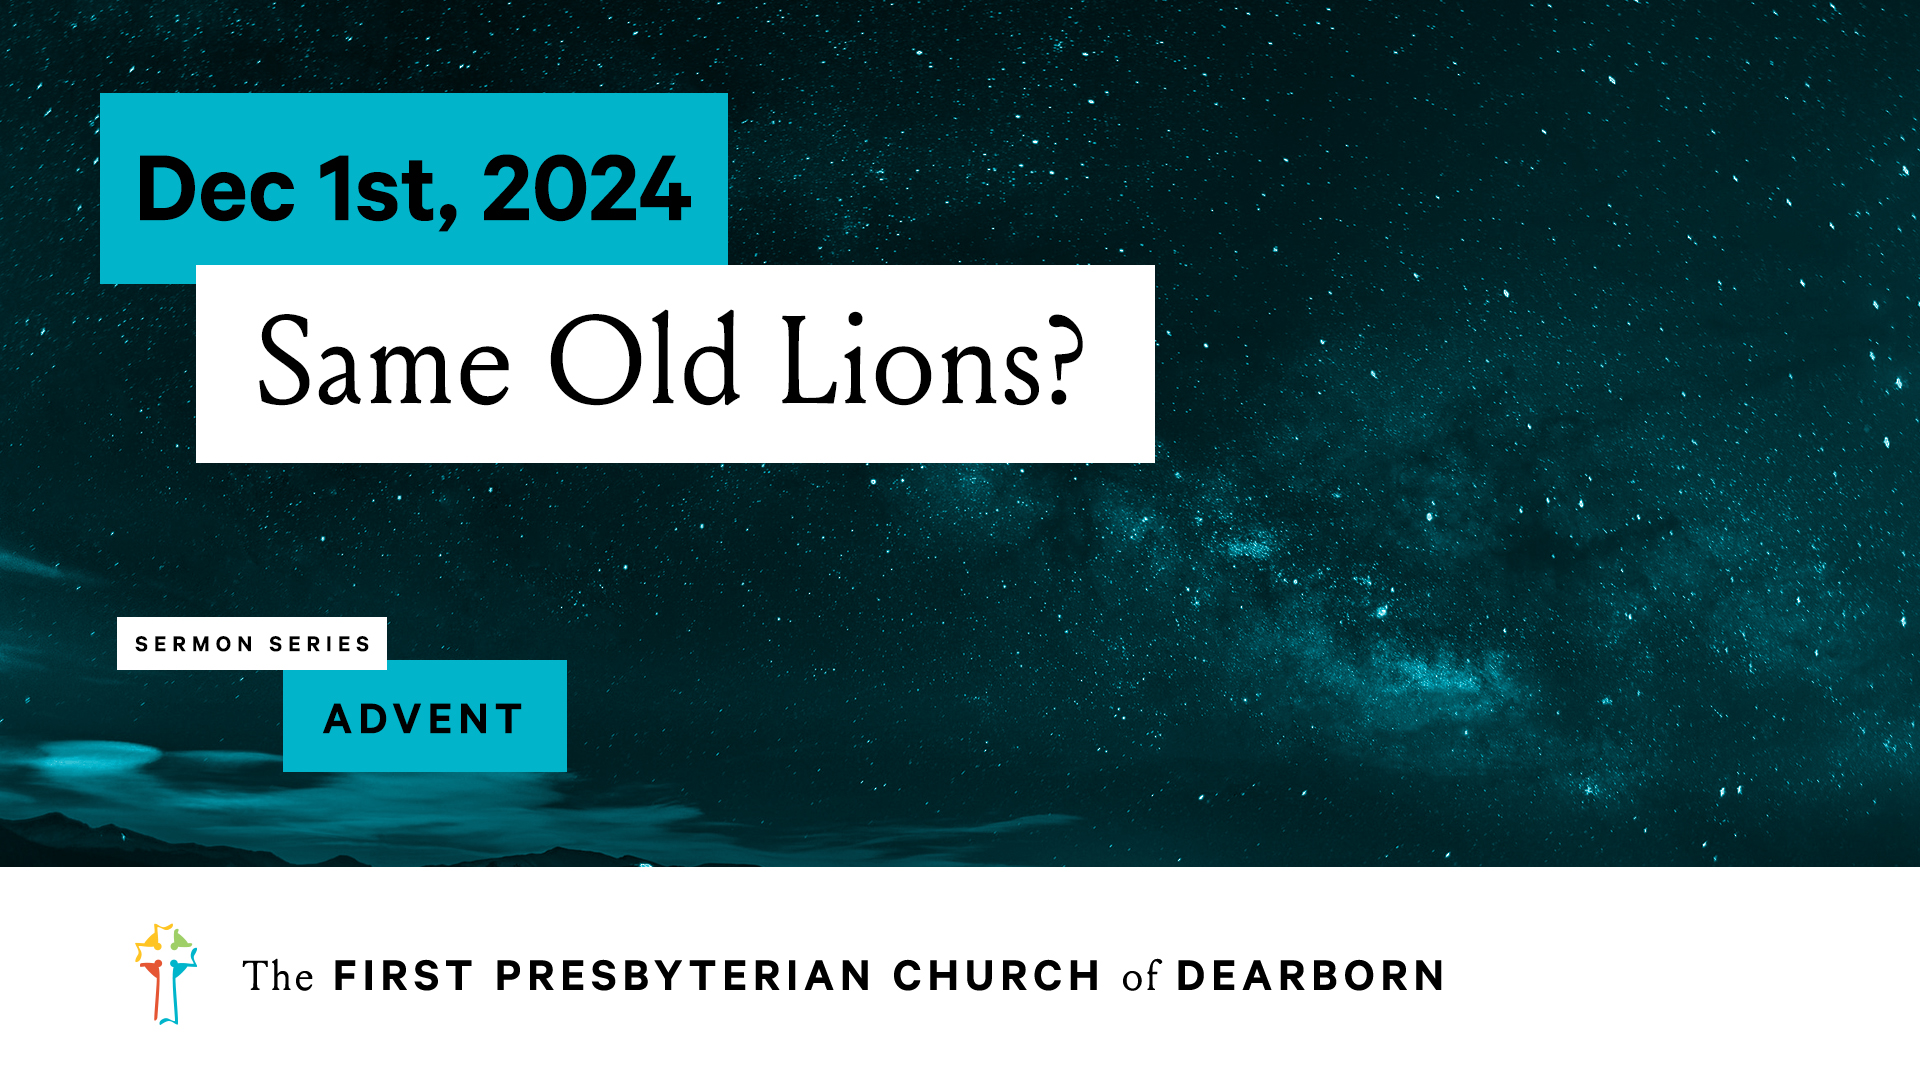
We use a standarized template for our Youtube thumbnails. The following guide describes how to create a thumbnail from the template in photoshop.
Requirements
- A computer with photoshop & required typefaces installed (the presentation mac studio, for example).
- Calibre & Louize are required for the thumbnail. These can be found in the dropbox under Graphics for Announcements ETC / Church Logos and Graphics / Typefaces
- The service's date in the following format:
MMM D[Suffix], YYYY- Jan 1st, 2024 for example
- Name of the sermon for the service.
- Color of the template. Options include:
- Gray (Special occasions only)
- Blue
- Yellow
- Green
- Red
- A background for the thumbnail (selected with series, see below). Unsplash is a great resource for grabbing free high-resolution images for the thumbnail.
- Whether the service's sermon is in a series.
Warning
All sermons in a series must use the same color & background. If there is not a sermon series, the background & color should be updated every month. In the case that a sermon series is introduced in the middle of a month that didn't otherwise have one, a new background & color combo should be created for that series.
Note
Unless specified otherwise, the sermon series title during advent is "Advent".
Creating the thumbnail
Open the file
-
Open Finder -> Go to Dropbox/Youtube Thumbnails -> Open template_yt.psd in photoshop.
Tip
If the workspace has been changed, it may be difficult to find items. Reset the workspace to default: Go to Window in the top bar -> Click Workspace -> Select Essentials (default) and then go back to the same menu and Click Reset Essentials.
-
Locate the layers pane in the lower right-hand corner of the window (Collapse all the folders to make it easier to view).
Set the sermon series visibility
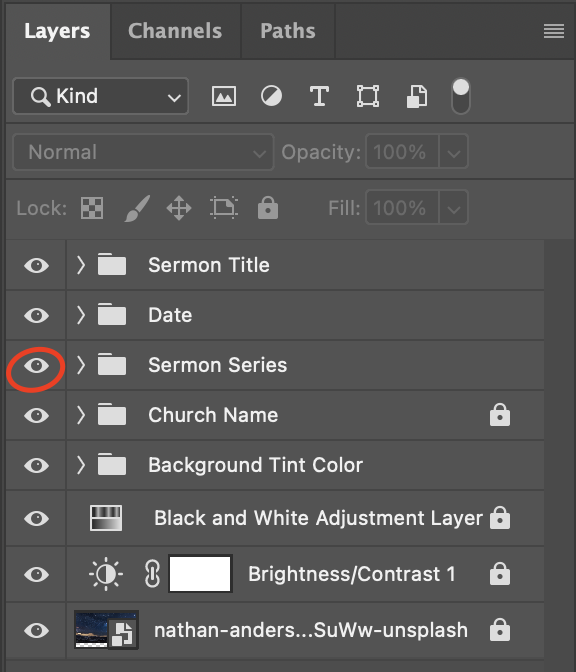
- If there is a sermon series, make sure that the eye next to the folder titled Sermon Series is visible. Click the eye to toggle visibility on/off. If there is no sermon series, make sure the visibility is disabled by clicking the eye.
Set the color of the template
-
Expand the Date folder. You will see five layers named Date Background (%Color%).
Note
There should only be only of these layers visible at a time. Refer to Set the sermon series visibility (above) about how to change visiblity.
-
Only make the selected color layer visible. For example, if the selected theme color is blue, then make sure that only Date Background (Blue) is selected.
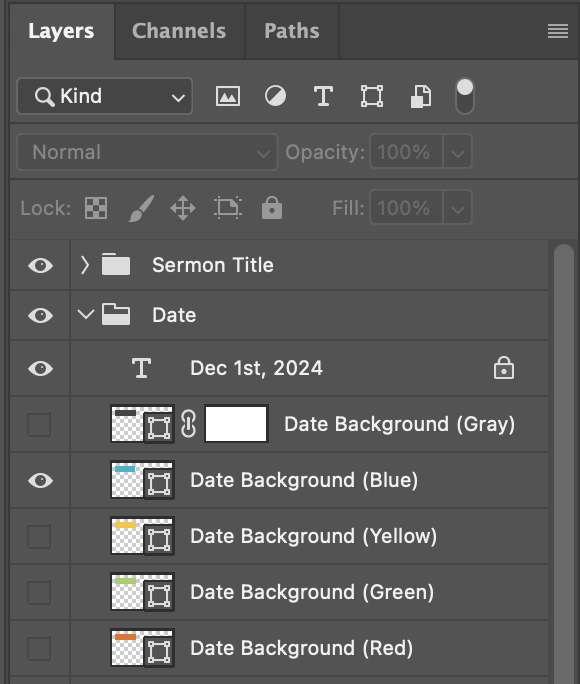
Date background color (blue example) -
Using the same instructions, set the color theme under the Background Tint Color and Sermon Series folders. Only do sermon series if applicable.
Set the background
-
Locate the existing background file. It should always be located at the bottom of the layers pane.
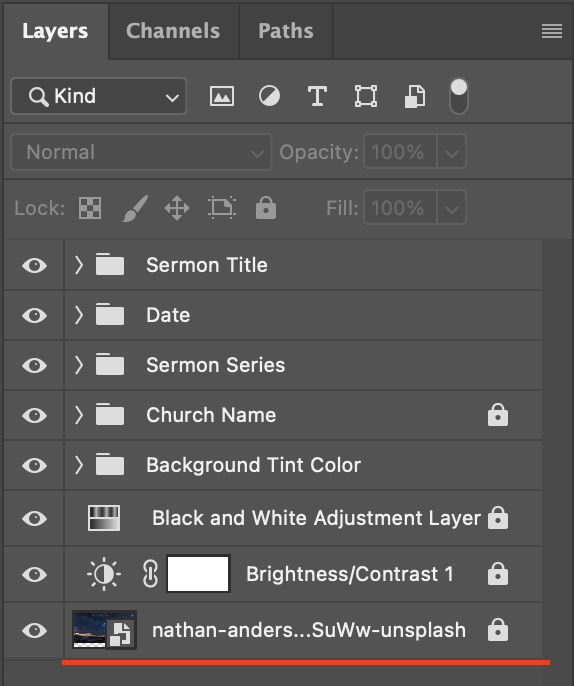
Background file location -
If the background shows a lock symbol next to it, click the lock button to unlock that layer.
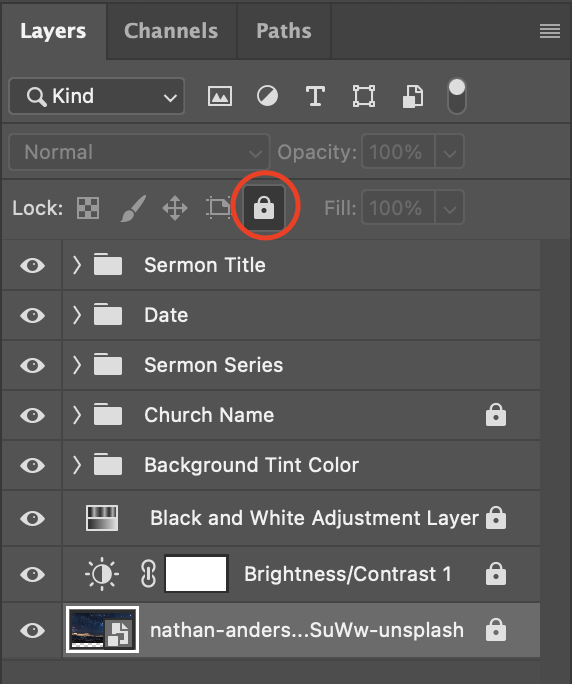
Unlock background layer -
Delete the existing background by selecting the background layer, then clicking the delete button.
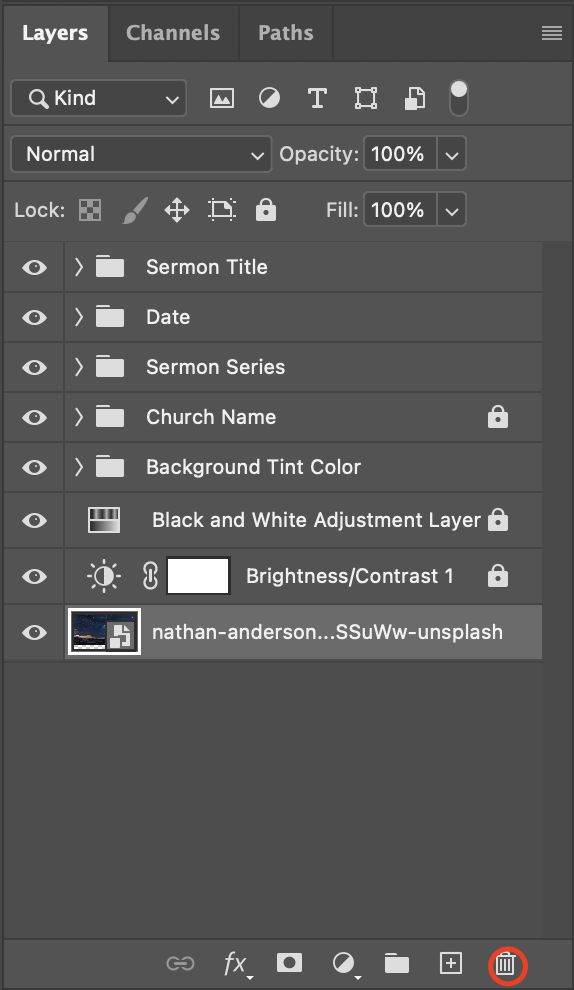
Delete background layer -
Import the new background by going to the top bar and clicking File -> Place Embedded, then opening the downloaded background.
Note
Don't worry about positioning the image at this point. We'll tackle that in the next step.
Load background -
Move the background to the bottom of the layer pane by selecting the background layer and dragging it to the bottom. You should now see the background appear behind the rest of the thumbnail content.
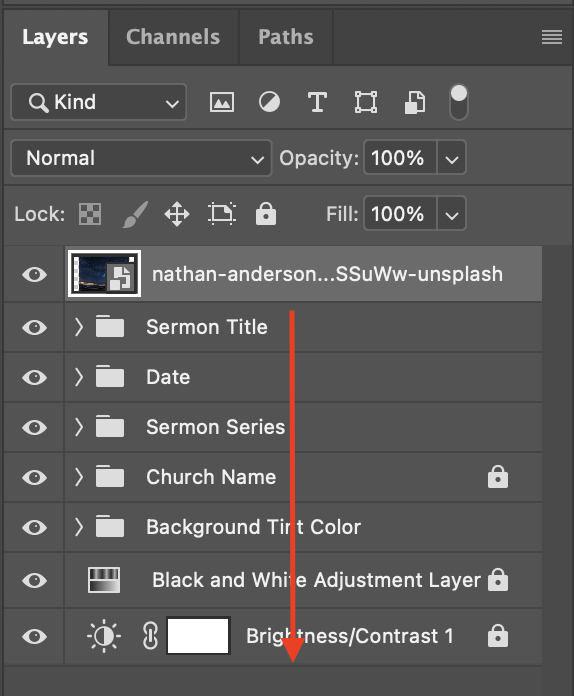
Move background layer (before) 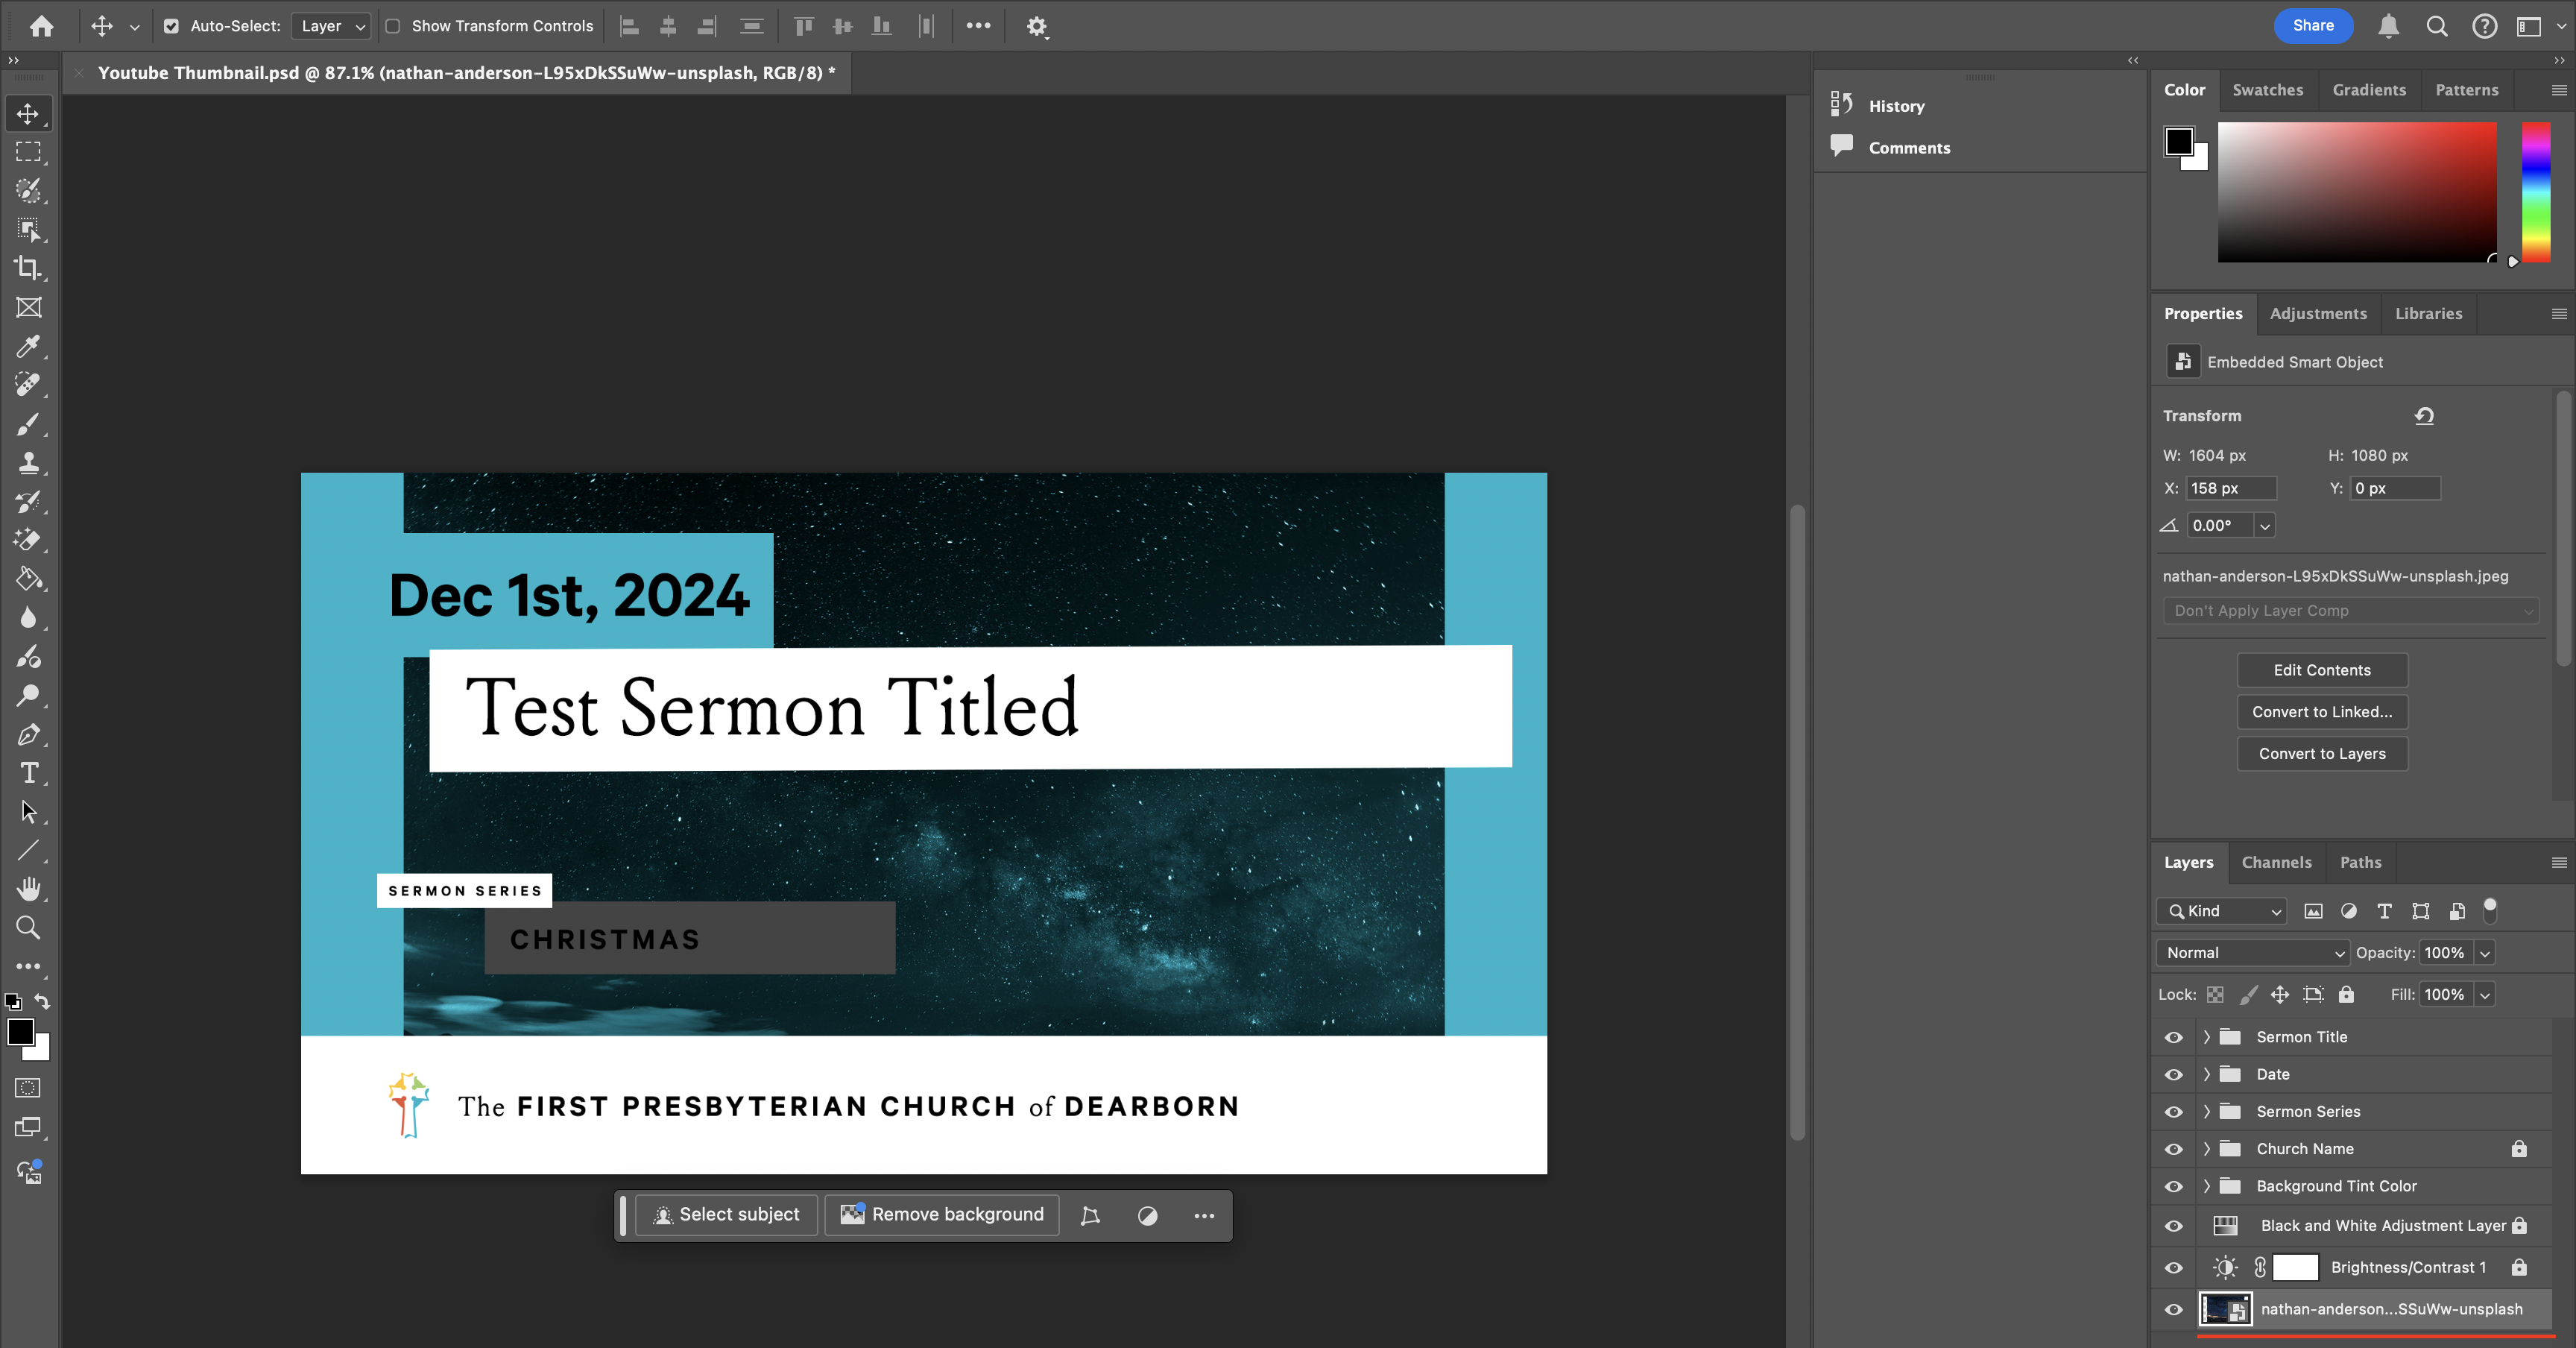
Move background layer (after) -
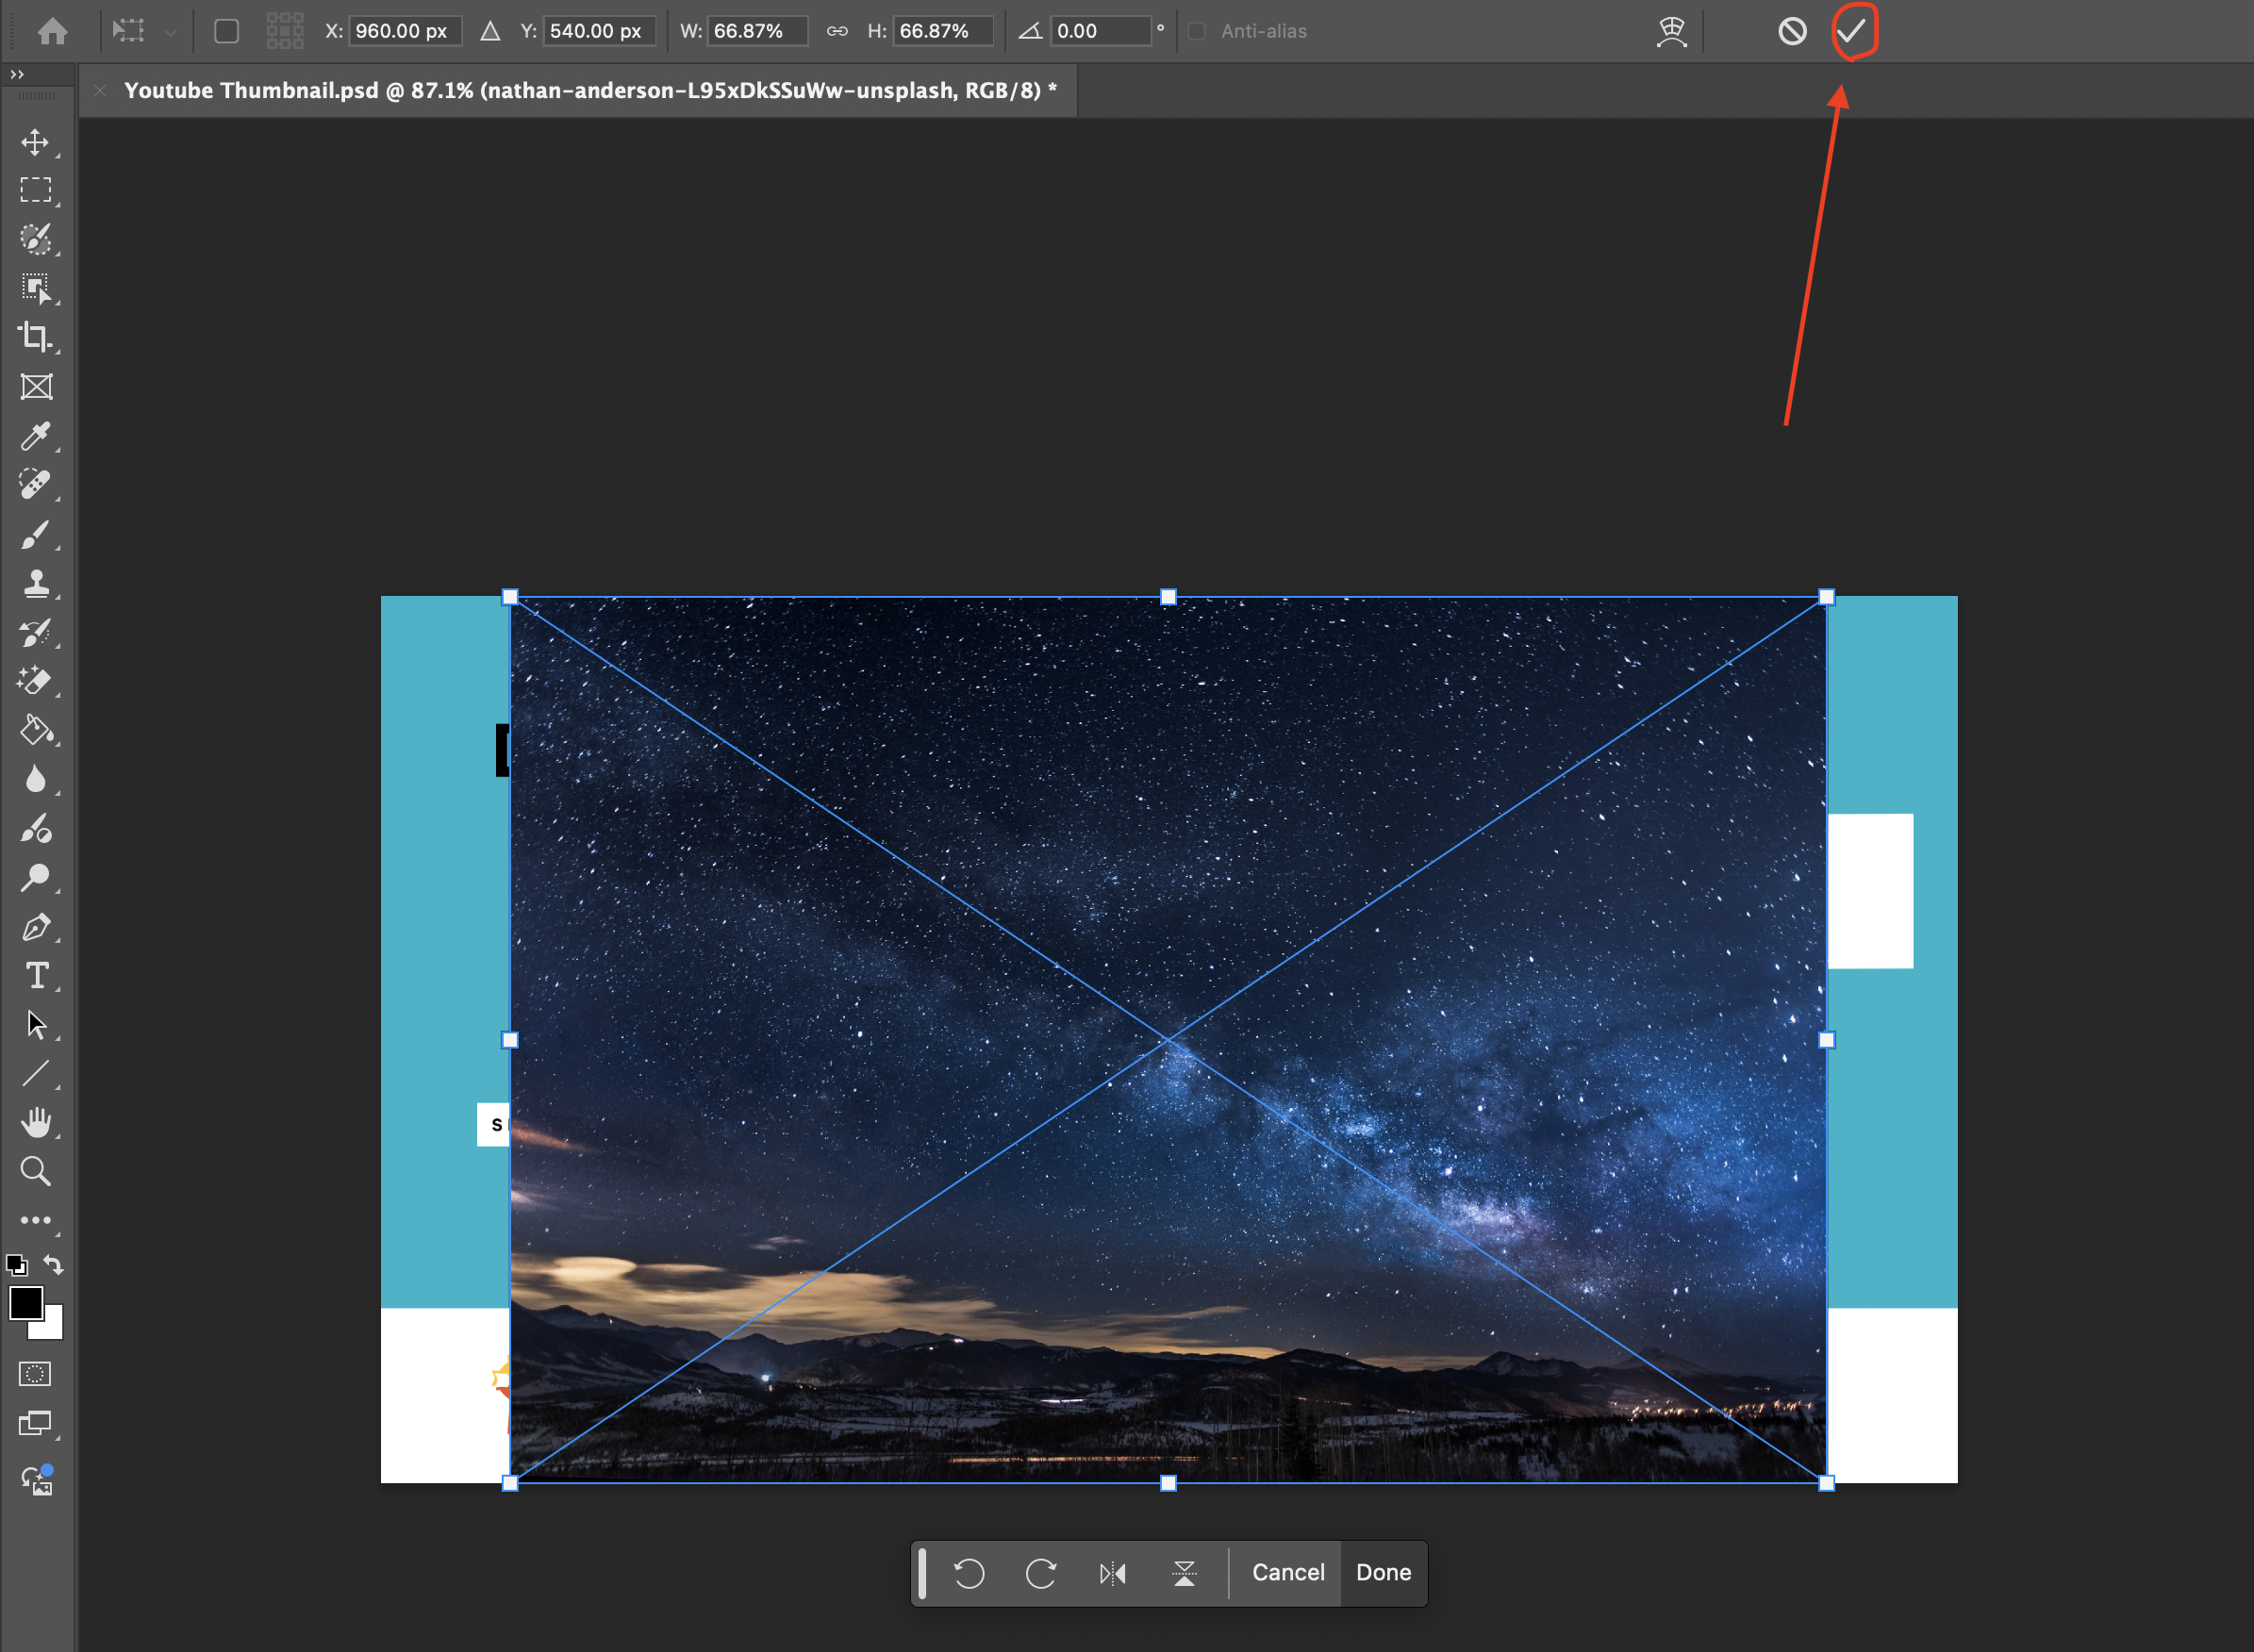
To adjust the image to fill the background, enter transform mode by doing Cmd+T, or by clicking Edit -> Free Transform. While holding shift, drag the four corners to expand the image. It's okay to extend the image beyond the border of the thumbnail. Click the check mark in the top bar once the transformation is complete to save.
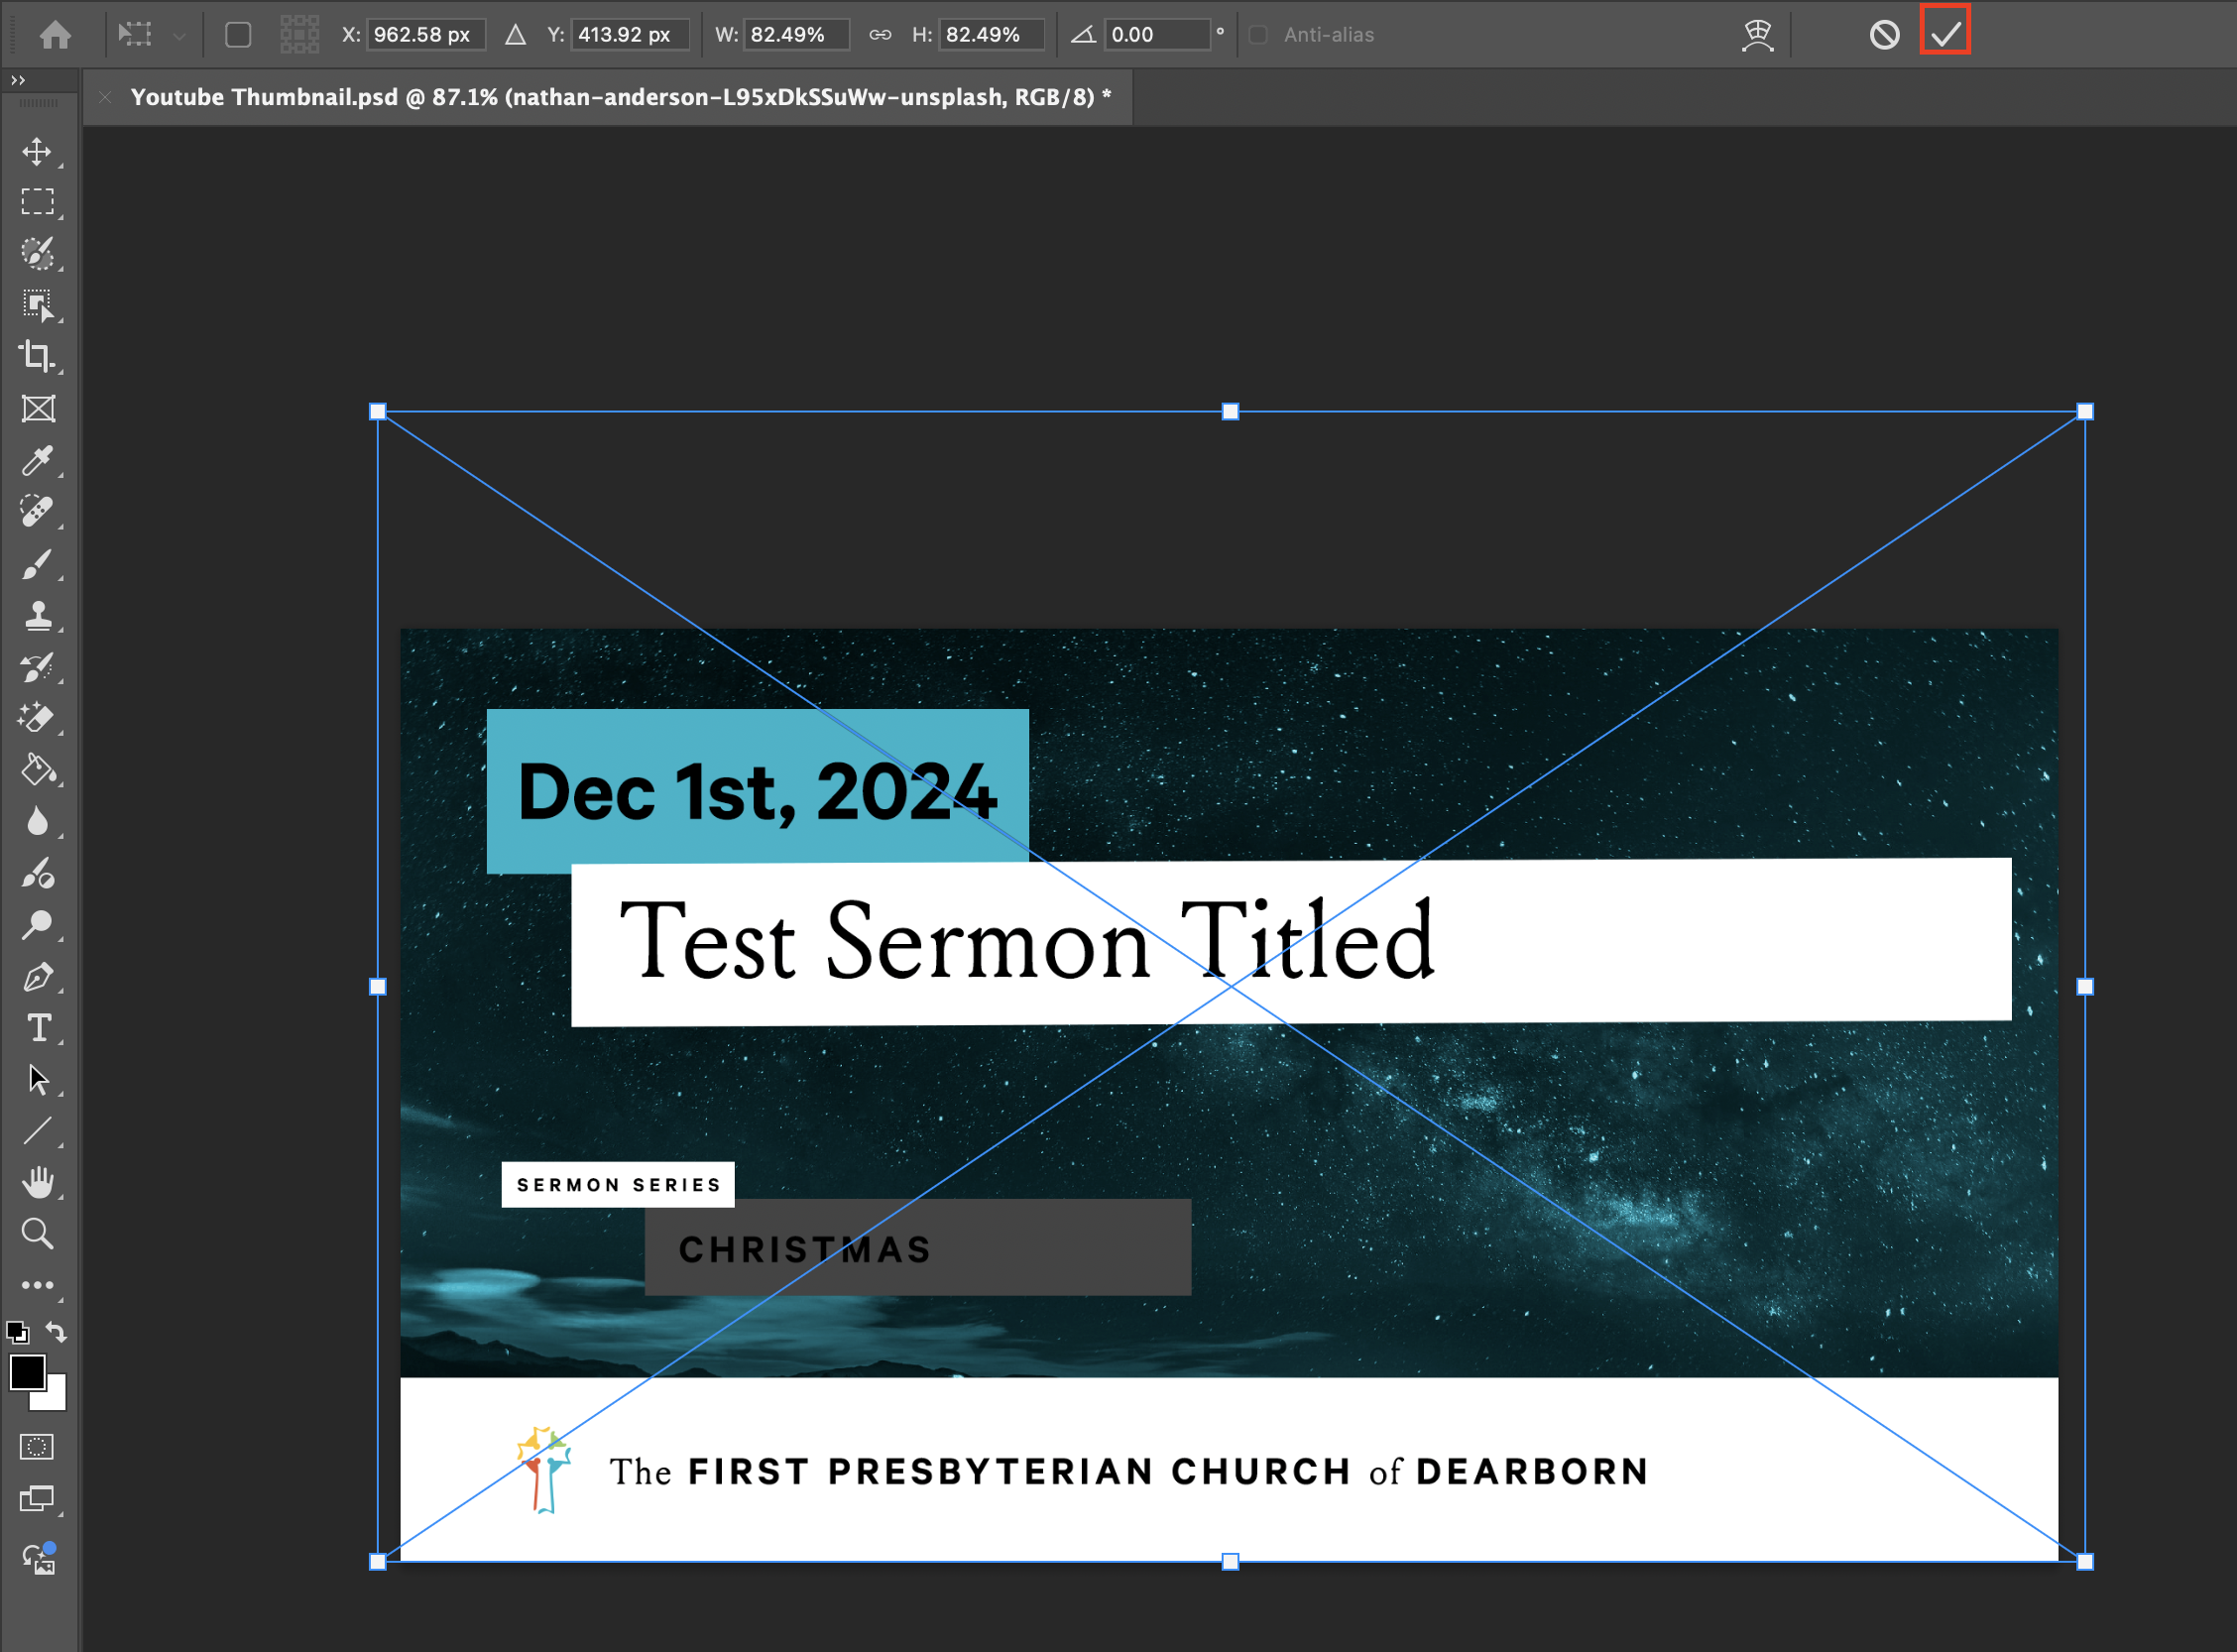
Transform background
Update the text
-
In order to update the text, we need to enter the text tool. Click the
Ttext button on the left-hand corner, or press T on your keyboard.Warning
Be careful of where you click when using the text tool. Anywhere you click will create a new text box.

Text tool -
Click on the sermon title text with the text tool. You should now see the cursor to edit the text. Click the check mark at the top of the screen once you are done.
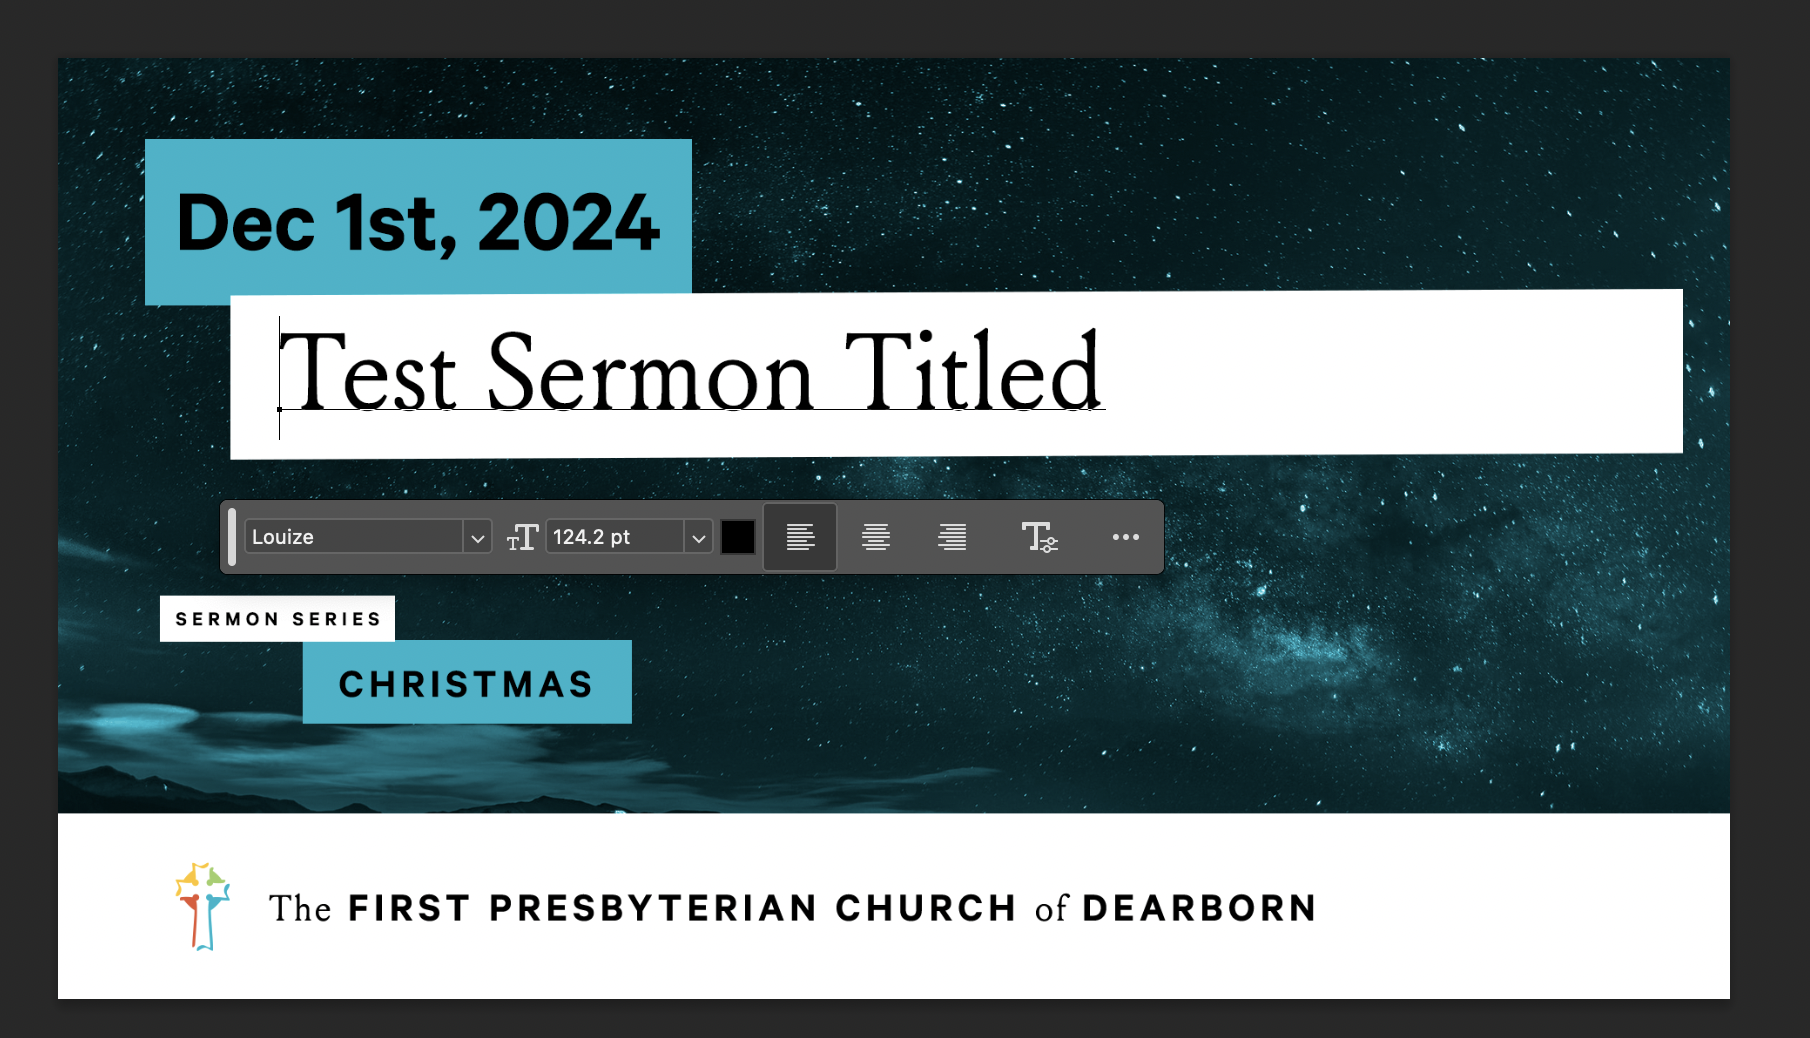
Sermon title edit -
Edit the text for the date and the sermon series (if applicable). Once you are complete, make sure you go back to the move tool, or click V on your keyboard.
Move tool 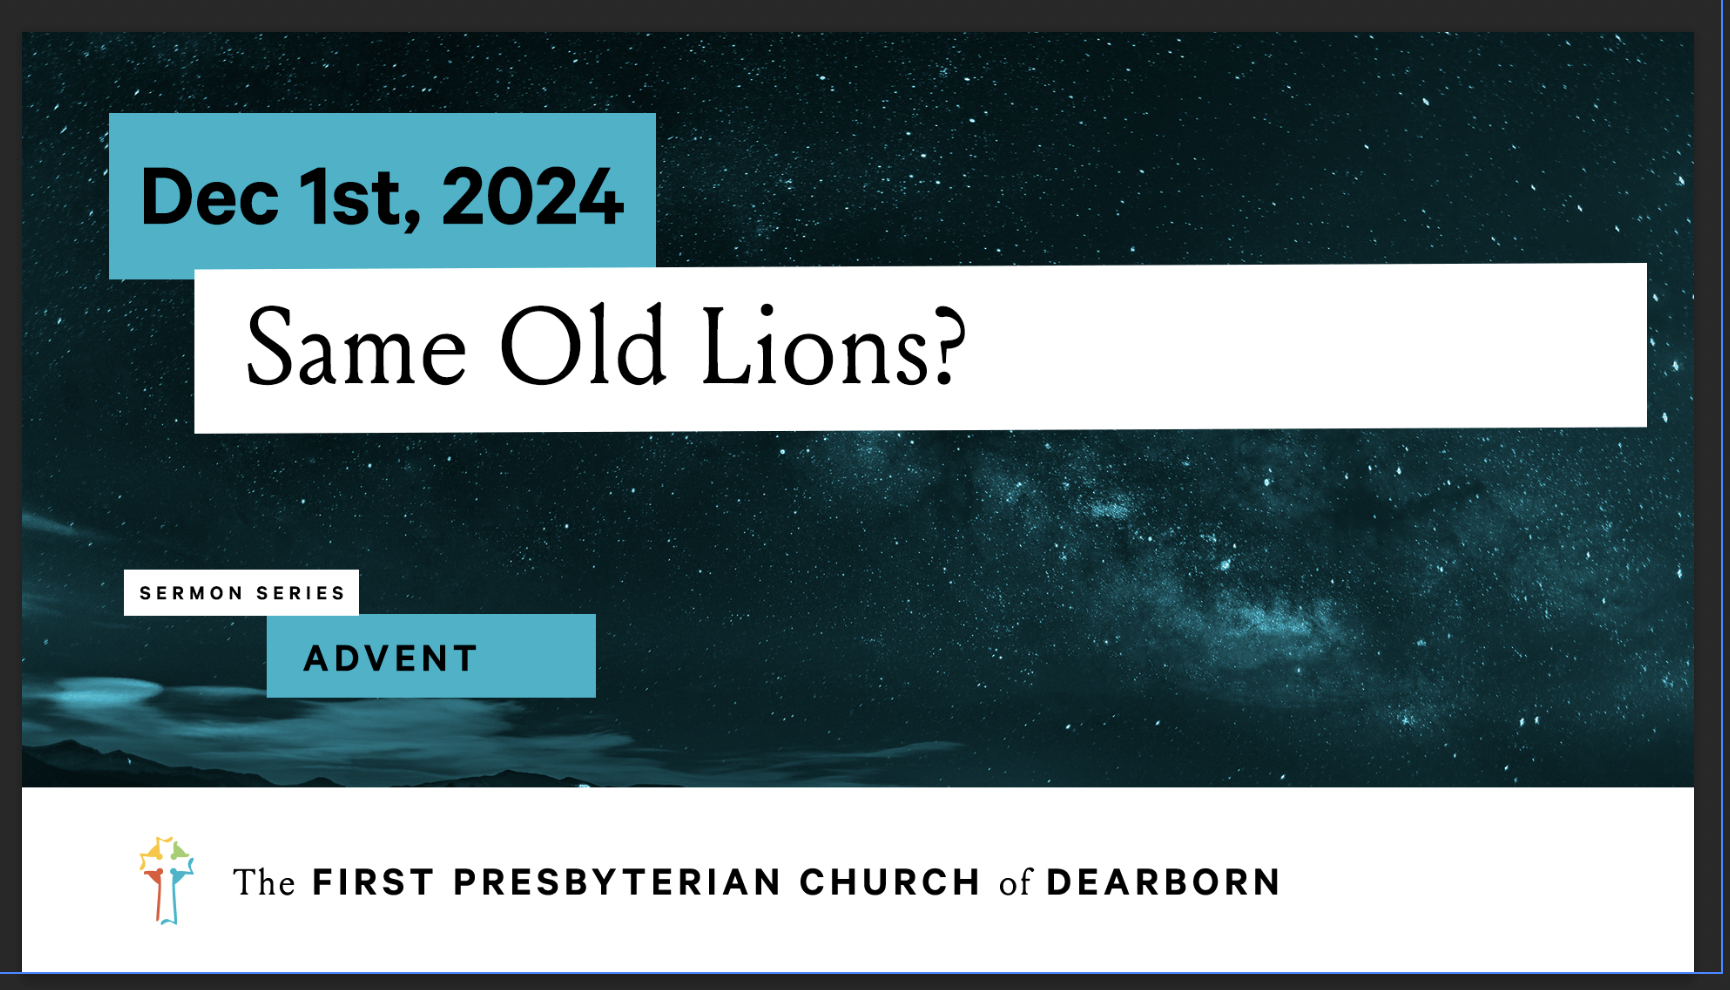
After editing text
Adjust text boxes
Warning
It is crucial that the positioning and vertical size of all the boxes remain consistent. All of the proper reference values will be included below to ensure that everything is in the right position.
-
Adjust the sermon title background by selecting the layer "Sermon Title Background" under the Sermon Title folder. The properties with size and location should be visible above.
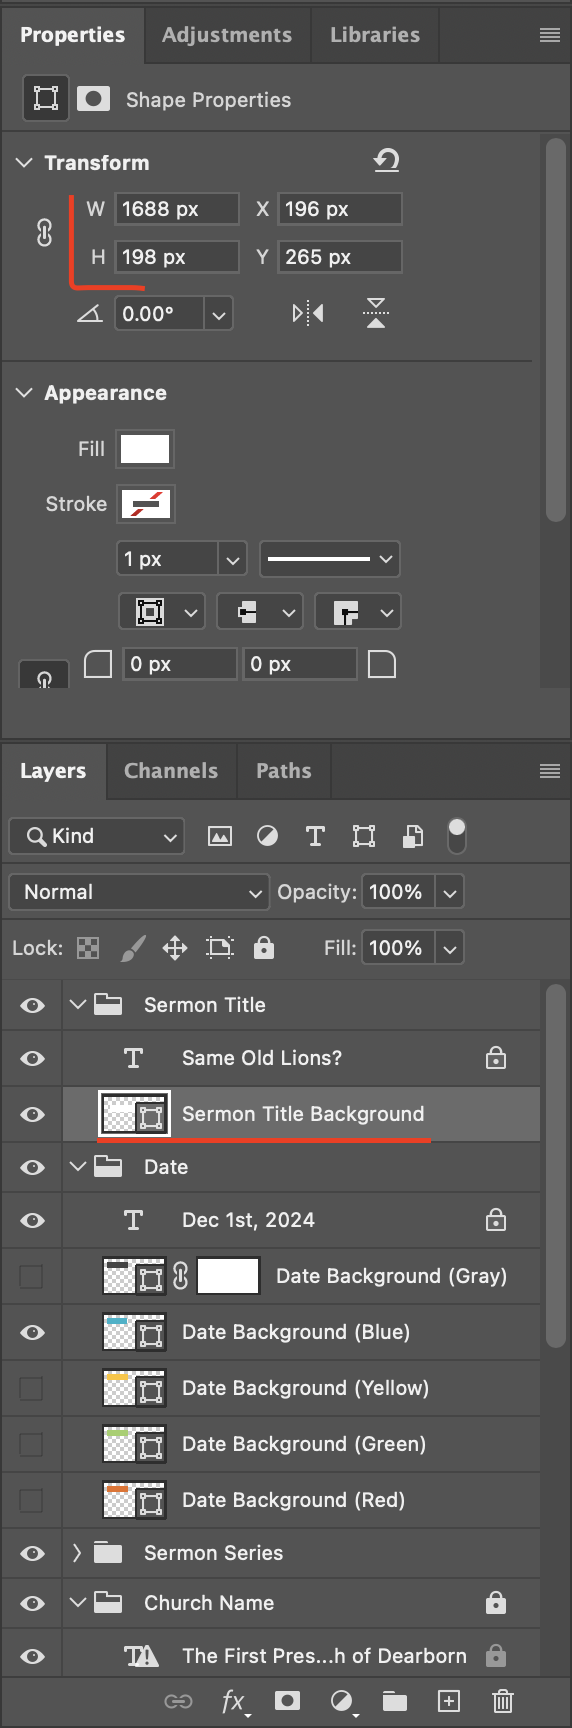
Sermon title background properties -
Adjust the box to fit around the text by adjusting the width of the box (variable W). An easy way to do this is to grab the letter
Wwith your mouse and drag it left or right to adjust the size.Note
Try to visually match the padding of the right and left sides of the box.

Adjust box width -
Do the same for the date and the sermon series boxes (if applicable).
Default values for box locations
If you lost the original locations of the boxes, please refer to the table below to reset them. The width is determined by the length of the text in the box.
| Layer | Width | Height | X position | Y position |
|---|---|---|---|---|
| Sermon Title Background | 959 px | 198 px | 196 px | 265 px |
| Date Background | 628 px | 191 px | 100 px | 93 px |
| Sermon Series Background | 633 px | 112 px | 283 px | 660 px |
Export the thumbnail
You should now have a thumbnail that looks like this.
We need to export two different files. One as a backup of the template, and one to be used for Youtube.
-
Export the template file. The original file template_yt.psd is read-only and should never be overriden. Click File -> Save a copy. Make sure that the format is set to Photoshop. Save to Dropbox / Youtube Thumbnails / [Current Year] / Templates. Name the file
DD_MM_YY_template.psd. -
Export the youtube file. Click File -> Save a copy. Make sure that the format is set to JPEG. Save to Dropbox / Youtube Thumbnails / [Current Year] / Thumbnails. Name the file
DD_MM_YY_thumbnail.jpg.